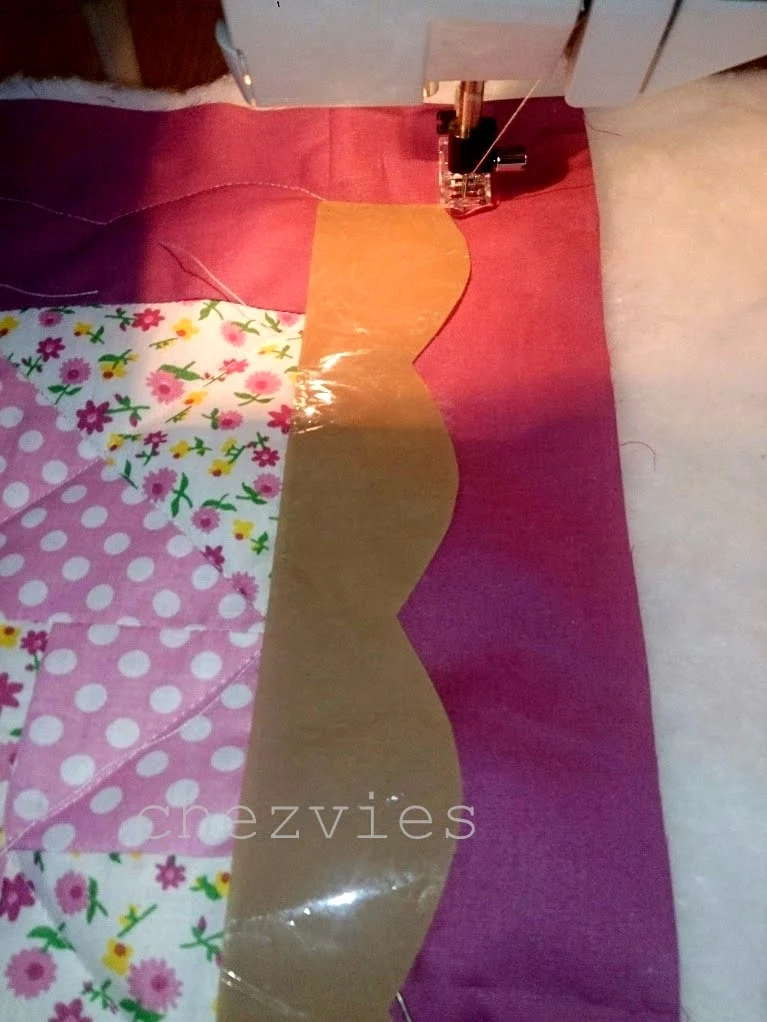
I've read about painter's tape used as a quilting guide and got a chance to try it out today. The thing is the painter's tape which available is not of good quality and I don't have a masking tape. I have cello tape. That should do, right?
Now if you use this tape, don't press it so much, as it works only as guide. You don't want any residue sticking across your quilt, right?
Remember the edge of the foot should fall exactly in the edge of the tape
Don't put the foot on the tape
because it's slippery and the foot won't glide. I did that in the beginning
and had to struggle a bit
So, I finished quilting it quite fast . I am not very good in eye-balling my stitch, so this tape is really my savior.
Now I want to do that wavy curvy stitch for the border
and here's what I do
1. I cut the used tape (it's got batting all over it so it's not sticky => easy to cut) according to what I want to do
2. Change my foot to darning foot {R foot in my Husqvarna Viking machine}
3. Set the machine for Free Motion Floating and I'm good to go
There you can see the wavy curvy line ^_^
here's another idea
What do you think?
I recently found that standing and quilting is much more comfortable. It's easier to maneuver the quilt and easier on my shoulder too. That way, I can see my stitches better too. Well, I get a bit tired standing but then you can always take a break in between.
Now the quilt is ready for binding
Oh I love the corner part.
Well, I hope you enjoy my mini tutorial ^_^
Remember, there is no right or wrong in quilting
Until then
Happy Quilting


